- No products in the cart.
FlushMount Clips
$28.60
50/bag
Hang display close to the ceiling. A Short Ceiling Solution
Clips to connect the display directly to the ClikMagnet’s centre ring.
FlushMount Clips are used when the display needs to be “flush” to the ceiling. Simply connect the FlushMount Clip between the ClikMagnet's centre ring and the attachment point of the display.
Weight per bag: (.11 lb/.05 kg)
SKU: 29150
All Products,Hooks & Clips
- Description
- Reviews

Product Description:
- Colour: metal gray
- Strength: pulls up to 100 lbs.
- Re-usable - over and over again.
How to use the FlushMount Clips to Install Displays Close to Low Ceilings:
- Open two FlushMount Clips by pinching - as shown. Feed each through an attachment point of the display AND through the centre ring of a ClikMagnet. Pinch to close the Flush Mount Clips.
- Thread the Sliding Dual MagMover 24” PRO onto the One-Button Pole or any other extension pole.
- Adjust the distance between the posts of the Sliding MagMover 24”PRO to the distance between the attachment points of the display.
(Note: if the distance between the attachment points is 6”, the Dual MagMover 6” is an alternative MagMover.) - Place the ClikMagnets (+ display) onto the orange side of the posts of the Sliding MagMover 24” PRO - as shown.
- Lift assembly to the metal (one ‘clik’) on the ceiling. Your display is hung!


How to Retrieve the “flush-mounted” Display Using the Sliding Dual MagMover 24” PRO:
- Slide the posts of the Sliding Dual MagMover 24” PRO to the distance between the attachment points of the display.
- Rotate the corkscrews outward.
- Insert both corkscrew fully into the centre rings of both ClikMagnets, with one motion - as shown.
- Pull downward. Your display is retrieved. The coils of the corkscrews will hold the ClikMagnets (+ display item) from falling.
Note: remove the Flush Mount Clips with their ClikMagnets. These are ready to be re-used on the next display.
Customer Reviews

RELATED PRODUCTS
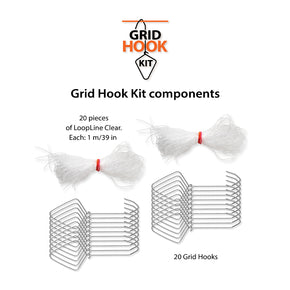
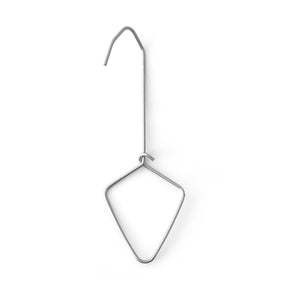
Grid Hook Kit
Hooks for Suspended Grids + LoopLine Why? To hang signage from suspended ceiling grids while standing on the floor...and while using the Clik-Clik Magpole & MagMover. Grid Hook Kit contains...
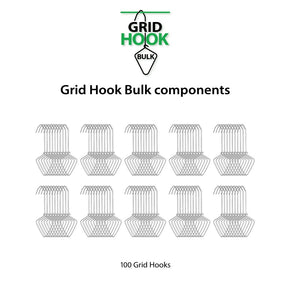
Grid Hooks Bulk
Hooks for Suspended Grids Why? To hang signage from suspended ceiling grids while standing on the floor...and while using the Clik-Clik Magpole & Sliding Dual 24” MagMover. Grid Hooks can be inserted directly...


